
CentOS 6.4へALMiniumをインストールしました。
AMIはCentOS 6.4 (x86_64) – Release Media on AWS Marketplaceを使用しています。
今回はRedmineに加えてJenkinsが動作することも確認できています。
Ubuntuはこちらをどうぞ
ALMiniumをUbuntuにインストールする方法
SELinuxを無効にする
SELinuxが有効だと、細かい設定が大変なので無効にします。
vi /etc/sysconfig/selinux
「enforcing」を「disabled」へ変更します。
# This file controls the state of SELinux on the system.
# SELINUX= can take one of these three values:
#     enforcing - SELinux security policy is enforced.
#     permissive - SELinux prints warnings instead of enforcing.
#     disabled - No SELinux policy is loaded.
SELINUX=disabled
# SELINUXTYPE= can take one of these two values:
#     targeted - Targeted processes are protected,
#     mls - Multi Level Security protection.
SELINUXTYPE=targeted
OSを再起動します。
# reboot
「getenforce」コマンドで「Disabled」になっていることを確認します。
# getenforce
Disabled
ポートの開放
iptablesに80と8080のポートを追加します。
# vi /etc/sysconfig/iptables
# Firewall configuration written by system-config-firewall
# Manual customization of this file is not recommended.
*filter
:INPUT ACCEPT [0:0]
:FORWARD ACCEPT [0:0]
:OUTPUT ACCEPT [0:0]
-A INPUT -m state --state ESTABLISHED,RELATED -j ACCEPT
-A INPUT -p icmp -j ACCEPT
-A INPUT -i lo -j ACCEPT
-A INPUT -m state --state NEW -m tcp -p tcp --dport 22 -j ACCEPT
-A INPUT -m state --state NEW -m tcp -p tcp --dport 80 -j ACCEPT
-A INPUT -m state --state NEW -m tcp -p tcp --dport 8080 -j ACCEPT
-A INPUT -j REJECT --reject-with icmp-host-prohibited
-A FORWARD -j REJECT --reject-with icmp-host-prohibited
COMMIT
# service iptables restart
EPELリポジトリの登録
URLは下記で確認できます。
http://dl.fedoraproject.org/pub/epel/6/x86_64/repoview/epel-release.html

# rpm -Uvh http://dl.fedoraproject.org/pub/epel/6/x86_64/epel-release-6-8.noarch.rpm
yumでいろいろインストール
# yum groupinstall "Development Tools"
# yum install openssl-devel readline-devel zlib-devel curl-devel libyaml-devel
# yum install mysql-server mysql-devel
# yum install httpd httpd-devel
# yum install ImageMagick ImageMagick-devel ipa-pgothic-fonts
# yum install wget git
Rubyのインストール
URLは下記で確認できます。
https://www.ruby-lang.org/ja/downloads/

# cd

# wget http://cache.ruby-lang.org/pub/ruby/1.9/ruby-1.9.3-p448.tar.gz

# tar zxvf ruby-1.9.3-p448.tar.gz

# cd ruby-1.9.3-p448

# ./configure --disable-install-doc

# make

# make install

# ruby -v
ruby 1.9.3p448 (2013-06-27 revision 41675) [x86_64-linux]
RubyGemsのインストール
# cd

# wget http://rubyforge.org/frs/download.php/76729/rubygems-1.8.25.tgz

# tar xzf rubygems-1.8.25.tgz

# cd rubygems-1.8.25

# ruby ./setup.rb
bundlerのインストール
# gem install bundler --no-rdoc --no-ri
Passengerのインストール
# gem install passenger --no-rdoc --no-ri

# passenger-install-apache2-module
下記のような内容が表示されるのでメモっておきます。
LoadModule passenger_module /usr/local/lib/ruby/gems/1.9.1/gems/passenger-4.0.20/buildout/apache2/mod_passenger.so
PassengerRoot /usr/local/lib/ruby/gems/1.9.1/gems/passenger-4.0.20
PassengerDefaultRuby /usr/local/bin/ruby
ALMiniumのインストール
GitHubからALMiniumを取得します。
# git clone https://github.com/alminium/alminium.git
「git tag -l」コマンドでタグの一覧を確認し、最新の「v2.2.4-4」をチェックアウトします。
# cd alminium

# git tag -l

# git checkout v2.2.4-4
「smelt」を実行し、ホスト名などのオプションを選択します。
処理が進むとMySQLのパスワードを何回か求められますが、入力せずEnterキーで進めます。
# bash ./smelt
Apache(httpd)の設定
redmine.confファイルを作成します。
# vi /etc/httpd/conf.d/redmine.conf
1~3行目はPassengerのインストール時にメモした内容です。
6行目はドメインかIPアドレスを指定します。
LoadModule passenger_module /usr/local/lib/ruby/gems/1.9.1/gems/passenger-4.0.20/buildout/apache2/mod_passenger.so
PassengerRoot /usr/local/lib/ruby/gems/1.9.1/gems/passenger-4.0.20
PassengerRuby /usr/local/bin/ruby

<VirtualHost *:80>
ServerName xxx.xxx.xx.xx
ServerAlias localhost
DocumentRoot /opt/alminium/public

ExpiresActive On
ExpiresByType application/x-javascript A259200
ExpiresByType application/javascript A259200
ExpiresByType image/png A2592000
ExpiresByType image/jpeg A2592000
ExpiresByType image/gif A2592000
ExpiresByType text/css A2592000

<IfModule mod_ssl.c>
    RewriteEngine On
    RewriteCond %{SERVER_PORT} 80
    RewriteCond %{SERVER_NAME} !localhost
    RewriteRule ^(.*)?$ https://%{HTTP_HOST}$1 [R,L]
</IfModule>

</VirtualHost>

<IfModule mod_ssl.c>

<VirtualHost _default_:443>
SSLEngine On
SSLCertificateKeyFile /etc/ssl/private/ssl-cert-snakeoil.key
SSLCertificateFile /etc/ssl/certs/ssl-cert-snakeoil.pem
DocumentRoot /opt/alminium/public

ExpiresActive On
ExpiresByType application/x-javascript A259200
ExpiresByType application/javascript A259200
ExpiresByType image/png A2592000
ExpiresByType image/jpeg A2592000
ExpiresByType image/gif A2592000
ExpiresByType text/css A2592000
</VirtualHost>

</IfModule>
Apacheを起動して自動起動するように設定します。
# service httpd configtest
Syntax OK
# service httpd start

# chkconfig httpd on
Jenkinsの設定
Jenkinsを起動して自動起動するように設定します。
# service jenkins start

# chkconfig jenkins on
インストール完了
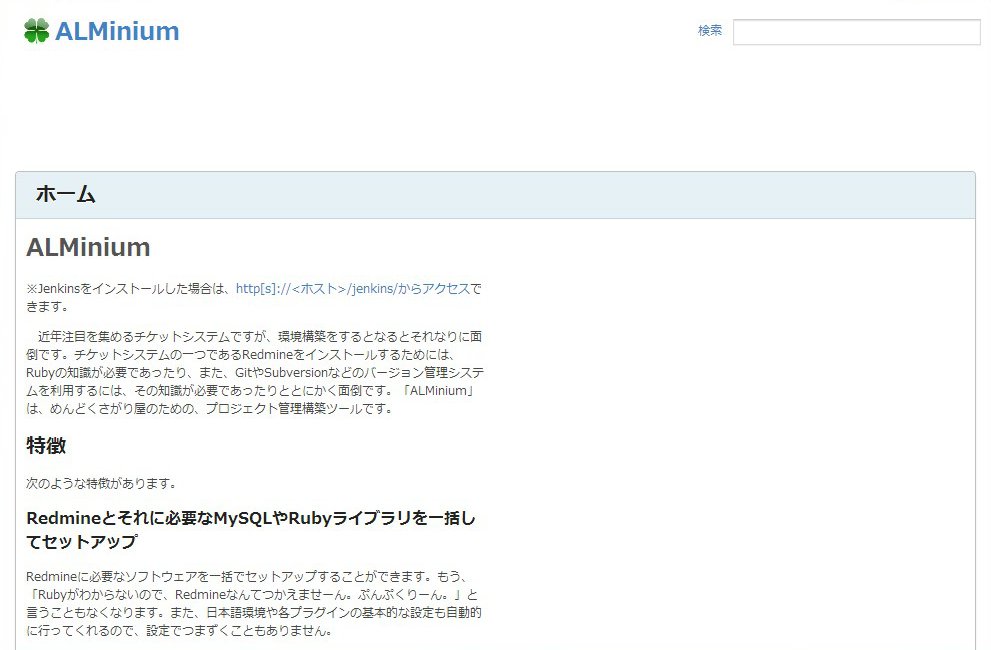
「http://ホスト名/」にブラウザでアクセスするとALMiniumのホームページが表示されます。
Jenkinsも動作したのでこっちでいろいろ試してみたいと思います。
参考URL
Redmine 2.3をCentOS 6.4にインストールする手順 | Redmine.JP Blog

コメント